Between clueless installation instructions, and inept fan videos, I'm surprised this company is still in business. The reason it IS in business, is it's a really GREAT product. Somehow, road vibration is just GONE!
 |
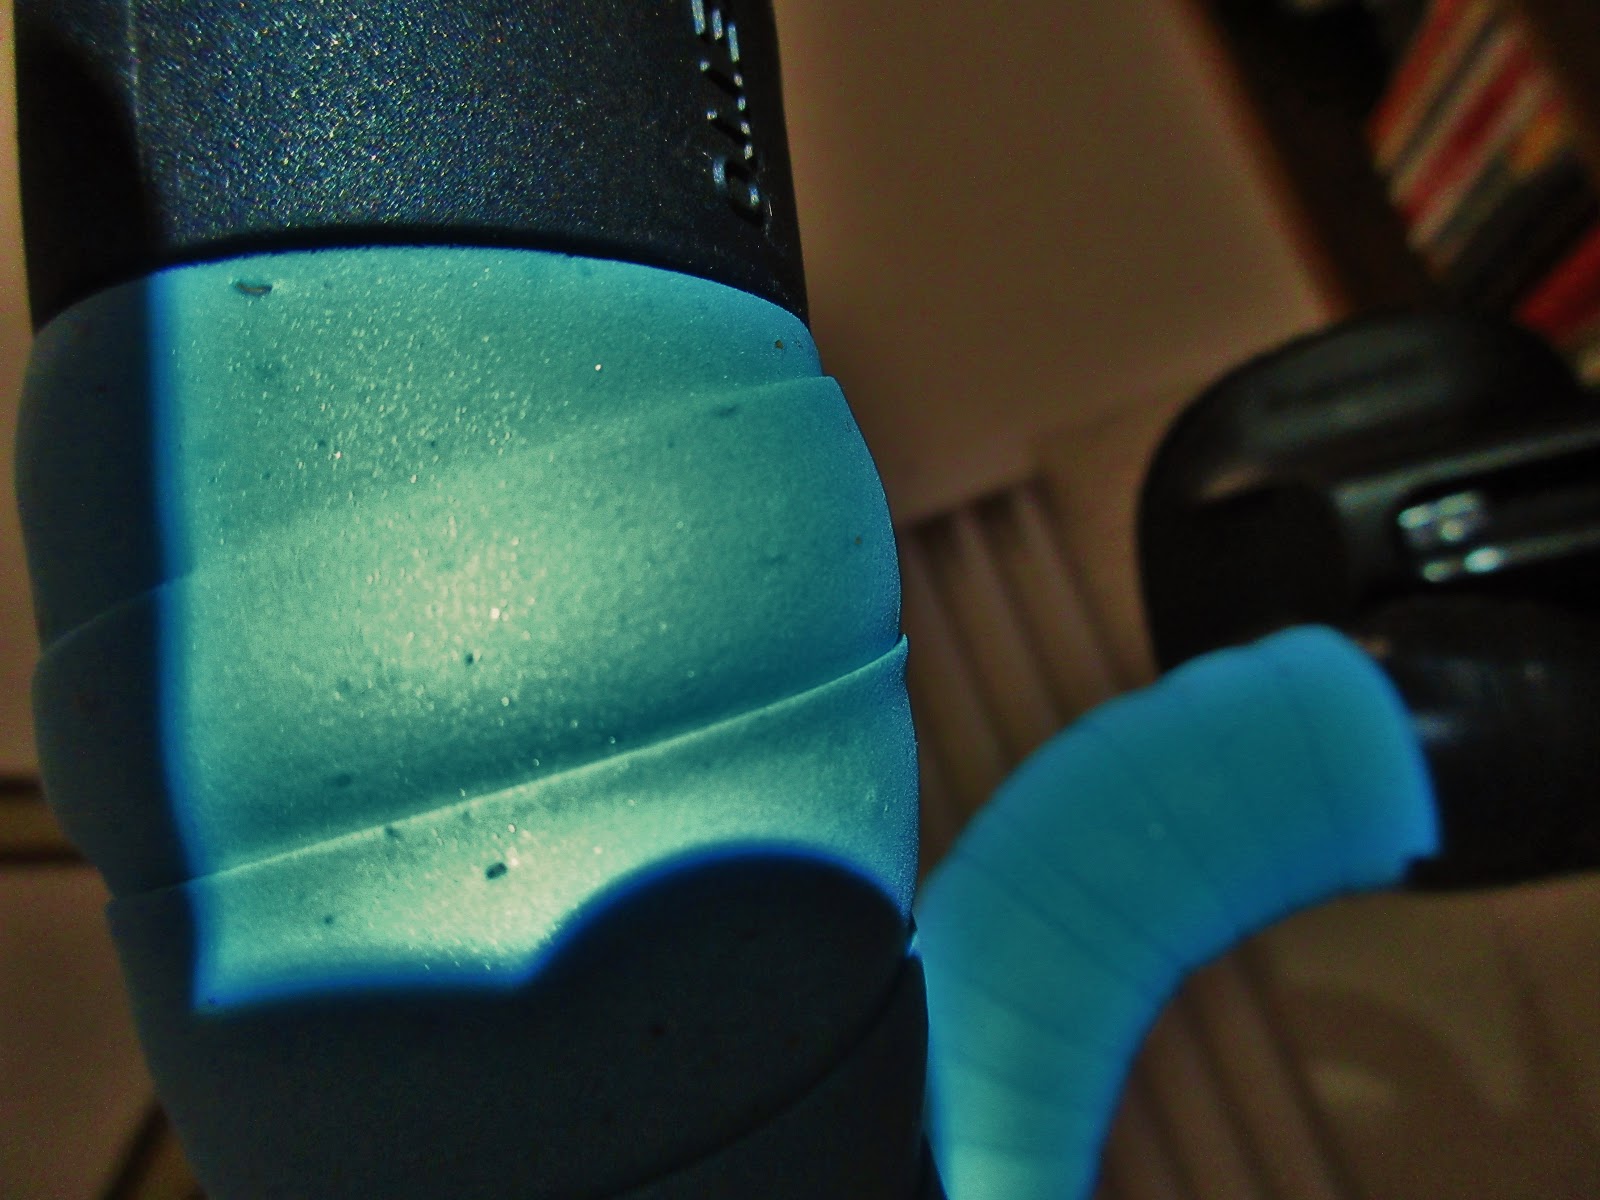
| The 4 fingers go UNDER your bar tape |
Sometimes something is so improbable you know you must be missing something or it'd be long gone. In this case, the size of the mirror seems ludicrous, but this is one of those VERY rare items that's the result of endless trial & error refinements, and it shows immediately when you start to actually use it. If not for the Conti GP5kTLs, this would easily be my Product of the Year Pick.
Like most right-handed riders, when I stop I only unclip my left foot, leaning the bike slightly against my left thigh. Every bar-end mirror I've ever ridden before gets knocked out of alignment when doing this, but not the IRBM. Don't get mirrors with ball-joints. They're never in alignment, and tightening down the ball joint just leads to failure. It's an idea that seems like a good one, but ends up being as welcome as a stone in your shoe.
After breaking 3 of the Hafney handlebar end mirrors (constantly getting bumped, and readjusted for aerobars) I was fed up enough to look at mirrors again. This in spite of having an eyeglass mirror that I used for a few rides, and AGAIN, rejecting it.
After breaking 3 of the Hafney handlebar end mirrors (constantly getting bumped, and readjusted for aerobars) I was fed up enough to look at mirrors again. This in spite of having an eyeglass mirror that I used for a few rides, and AGAIN, rejecting it.
For me eyeglass mirrors require too much time to get into position to see something somewhere behind me. They also cause a lot of neck strain, as holding your head in THAT position can be painful as the miles wear on. I also don't like getting an eye-full of my Hi-Viz shoulder and adding a blind-spot. Bottom line, by the time you've gotten a good look at what's behind you, you've ridden far enough to get in trouble.
That's dangerous, but it does bring up an important point. There's more to mirrors than size, in particular, the following are the most important features of a bike mirror...
- Clarity, which is really two things, the quality of the mirror's optics, and
- Vibration-free operation
- Time to acquire a useful sight pic
- Bump resistance - maintaining its adjustment ride after ride
- Riding position tolerance (like riding in aerobars and it still works!)
- Durability (essential on event rides in strange areas)
Those were the biggies, but there are some other considerations too...
- Aerodynamics
- Ease of mounting
- Price
The clarity, according to the mfg's statement, is due to a "front-silvered (also known as a “first-surface" mirror.) The glass has a vacuum deposited hard aluminum coating on the front, it is not “silvered” on the back like a common mirror. This front-silvering eliminates ghost images which are seen in common rear surface silvered mirrors. A front-silvered mirror displays the most accurate reflected image." It's really remarkably brilliant and clear.
I wish I knew how this mirror manages to be so vibration-free. It's just amazing, and incredibly valuable. It also makes getting a good sight-pic much, much faster. Getting a sight-pic is the time it takes to see what you want to see. The Hafney were very fast, but then you couldn't see anything clearly. The eyeglass mirror is the slowest. The IRBM is very close to the Hafney, but you CAN see what you're looking at, not some perpetual blur of something.
I've known about this mirror for over a year now, but passed on it because, come'on, it's tiny, and you can't even adjust it (not quite true, btw). It was the repeated urging of a friend that finally forced my hand. Mounting this mirror was my biggest turn-off. WTF? A mirror you can't adjust? (but also can't knock out of adjustment!)
Mounting the Mirror:
1st, the included instructions are idiotic, and an insult to my intelligence, as they show how to mount the mirror with handlebar tape taped from the center of the bars down to the ends. Stupid! NOBODY wraps tape that way. You wrap from the bar-ends to the center, AND, that's actually very helpful as it turns out. Before I forget, when ordering new bar tape, which you'll need, buy an extra set so you get 3 tries to get the mirror taped before you run out.
You're going to need some trial & error to get the mirror mounted correctly - mostly in the up-down direction. So, to do that, as the tape goes OVER the mirror's "fingers", you need to strip the tape off the end of a bar. Guess what, when you pull the plug out of the end the tape doesn't unfurl like toilet paper in a hurricane, it CAN'T. To remove it you have to tear it off one wrap at a time. Do that until 4-5" of bar-end are exposed and leave the rest of the tape alone!
Put a rounded bar-end cap on the bar. No, NOW, before you forget and have to start all over from scratch! You don't want the sharp end of the bar gouging the back of the mirror mount (as per included instructions) Without any bar tape to push against, you're going to need to tape it in place with electrical tape. A 6" piece folded over the plug leaves plenty of stick for the bar. The more rounded the plug's shape, the easier it is to get the correct adjustment. Something domed, plain and unadorned is perfect. Nothing to dig into the back of the mirror.
 |
| Domed & unadorned, too flat, adorned. #1 for the Win! |
I'm assuming your bars are just how you want them, so this procedure is NOT going to rely on you moving your bars. Put the 4 fingers over the bar, wrap your hand around the bar end, and pull on the fingers until the mirror is looking directly behind you with the horizon going right through the middle of the mirror. A long hallway where you can mount the bike is very helpful. Now wrap some tape (Cinelli's finishing tape is perfect for this - easy to R&R) around the fingers to tack it in place. Wrap as much or as little tape on top of that as you like - enough so you can go for a test ride. I had to pull my fingers a LOT to get the sight-pic I wanted, but the IRBM easily pivoted over the domed bar-end cap and held nicely when taped.
Remember how I said you CAN adjust this mirror just a bit? By twisting the mirror you can move the sight-pic inboard or outboard, and that's very helpful. It won't stay there forever, but it will for a few minutes. This works better if you don't wrap electrical tape all the way to the bar ends (you're going to wrap everything with bar tape eventually anyway, so completely unnecessary). Just tack it well enough it will survive replacing bar tape in the future. That's enough.
Go for a ride! Take some mental notes. Tweak for perfection riding on the hoods. Twist on the mirror, tug, pull, spindle, mutilate like it's your Birthday!
If you used the finishing tape that comes with bar tape (which I NEVER use as intended, preferring electrical tape) it's easy to make adjustments as you ride, stop, ride, stop, rinse & repeat. Got it where you want it? GREAT! Whip that 3M tape out of your jersey and wrap the ends of the fingers until they are in full contact with the bar, but leave the last 3/4" to 1" at the end of the bar loose to facilitate twisting for sight-pic.
Once you're home again, remove all the old bar tape and retape your bars. Start by cutting a long, shallow taper about 3" long from the center to the edge of the tape. You'll end up with a 3" long wedge of scrap. That tapered edge is the part you can't stick inside the bar where the plug normally seals it in place.
 |
| Note end of wedged-shaped section at 2 O'Clock position |
Place the tapered tape end to start at the 2 O-Clock position (looking forward from the back of the bike) with the flat, uncut edge against the base of the mirror. Hold it there while starting the tape by pulling it under the bar-end toward you until you've overlapped it with the next layer of tape when coming over the top, the tape edge held hard against the base of the mirror.
 |
| Factory edge held flush against mirror base all the way around |
You'll need a little bit of a loose wrap to spare tape usage all the way along, as the extra diameter will leave you short otherwise, but other than that, just wrap the bar like you always do, and finish it off with whatever finishing tape you like. MISSION ACCOMPLISHED.
 |
| Another view from the bottom |
 |
| Full-width of tape seen here, partially exposed, 9 O'Clock position |
 |
| Zoom-out from 9 O'Clock position |
The mirror can now be twisted clock-wise or counter-clockwise to move the sight-pic in or out, but otherwise it's rock solid. Absolutely bump-proof, and you get a fast sight-pic with no vibration whether on the hoods, tops or in aerobars. I'm afraid in the drops all I can see is my arm, but YMMV. (making the "OK" sign with your thumb and forefinger and twisting your arm outwards uncovers the mirror nicely though).
The optical quality of this mirror is spectacular, enough so that it's worth cleaning the mirror before you start a ride. It's a small thing, but it helps. Use a cleaning cloth from an old pair of sunglasses. You don't want to scratch the reflective surface, which is on the face, not the back, of the mirror.
BTW, in spite of appearances, this mirror actually sticks out LESS than the Hafney mirrors with their ball & bracket system. It's also, OF COURSE, much more aerodynamic. I don't think this is going to create any Strava Heros, but every little bit helps. Look at the stuff Wahoo is doing with their GPS mount.
Normally, in the US, the mirror goes on the left side, BUT, there are times when having one on the right side would be nice. For instance, if on a street where you have to move out of the bike lane, cross 2 lanes of traffic, and get into a L-Hand turn lane. You really can't see what's going on behind you as you move across those 2 lanes of traffic. I know it's a small thing, but it could save your life.
I almost got run over coming upon a major intersection with no bike lane, 2 lanes going forward, and a dedicated L-Hand turn lane morphing out of nothing (no turn lane on the road anywhere else). There's also a shallow climb the last 300 yards or so before the intersection. It was near the end of the ride, I was tired, and the road had some gravel in it. When I took my hand off the bars to signal I started to wobble, so a very short and late hand-signal. A pickup decided at some point (too much vibration on the Hafney to see clearly) to pass me on the left. I took a good guess, straightened out my line, abandoned my turn, and he went all the way around me, crossing the center line, and then back into the lane I was still in ahead of me.
If I had realized in the moment what an asshole thing he'd done I guess I'd have swore a blue streak at him, but as it was I was just happy that somehow, someway, everything had worked out sorta OK. The look on the faces of the other 20 or so drivers at the intersection was one of pure wonder and horror. It's like watching a train wreck - that somehow miraculously never happens. Long story short, a R-Side mirror would have allowed me to track the traffic behind me as I moved across 2 lanes into a dedicated L-Hand turn lane.
I have to say, I had no idea how many times I was checking my mirror until my Hafney mirror broke 10 miles from home. I'm guessing every 30-45 seconds. That's a BIG void when missing. Also, if you ride with a partner it's great to have mirrors AND headlights with Day-Flash mode. We both use CygoLite 1100 lumen lights, and you can see those in the IRBM for up to a mile. It keeps you from leaving your partner by the side of the road with a mechanical - or worse.
No comments:
Post a Comment