Overview:
The 1st thing you notice about the Conti GP 5000 TL is the smell of rubber - that smell you get when you walk into a tire store to put new tires on your car or truck. It makes an immediate impression that these are SERIOUS tires that can take a licking and keep on ticking. Turns out, that's a great impression, because they are very, very TOUGH. The only downside is they let go of the bead below 10-15psi, so the sealant has to go in before inflating the tire.
In a nutshell, here's what I love about the tire...
- It's tough, no, really, really tough
- It rolls better than any other general purpose tire (8.3 watts)
- It soaks up road vibration via some kind of German magic @ ~ 85psi
- It grips really well, even in corners with sand and debris
- It goes on with just bare hands (yup, read on)
- It's close to its advertised width on the wheel
You read over and over again that the point of tubeless tires is the 100 grams of weight wasted on an inner-tube is instead used to make a much tougher tire. Unlike the warm butter toughness (cough, cough) of Schwalbe Pro One tires, this tire lives up to that promise. Everything about the GP 5kTL is made tougher - tougher than the Michelin Pro 4 Endurance and Conti inner-tube setup I was riding before, and that tire was at the end of a long evolution of progressively tougher tires that still had acceptable ride qualities. Tougher than the Gatorskins my riding partner on the Victor Valley Bike Tour was riding. She flatted. I didn't, and Gatorskins ride like a a lumber wagon on frozen ground while devouring 19.3 watts.
Conti GP 5000 TL come in a beautiful black box almost identical to Schwalbe's - probably sourced from the same company. The box has specs for all three 700c sizes, 25mm, 28mm and 32mm. I especially like the inclusion here of the circumference as some bike computers still need that info to get proper speed and distance.

Mounting the Conti GP5000 TL Bare-handed:
If you're reading this post, there's a good chance you're here to call me a liar when I tell you I can get both the 25mm front (easy) and the 28mm rear (harder) tires on my Easton R90SL rims with my bare hands. Seriously, cross my heart and hope to die.
1st, I'd recommend, as with ALL tires, that you unbox and unwrap them and lay them flat on the floor overnight to allow the bead time to return to a round state. Bring them in from the garage to warm up in the winter as well.
2nd, clean the bead-socket on the rim until it's spotless. I mean NO little rubber balls of dried sealant, and valves that have been removed and cleaned spotless. Use a hard cloth and old plastic tire-iron (tire-plastic?) with some alcohol to get the bead-socket bone dry and spotless.
3rd, use Stan's yellow rim tape that is wider than the rim, as per Stan's recommendation. Clean the rim/tape interface spotless. I always replace the tape if installing a tire. It makes it easier to get the bead-socket clean, and removes the tape as a failure node if the system leaks air after. Also, water and soap degrade the glue, putting the tape seal at risk.
My custom wheels arrived from Colorado Cyclist with 4 layers of Stan's rim tape. That's too much. It doesn't help seal, degrades the seal at the valve, and takes up a lot of the rim cavity at the center of the rim needed to allow the very tough beads to seat deeply so the opposite side of the tire can clear the rim. I've settled on one layer of tape overlapping 4 1/2 spokes on each side of the valve hole to get a good seal at the ends of the tape. This leaves almost all the cavity on the opposite side of the wheel unfilled, which you'll need. Pull the tape as taunt as you possibly can, and cut it off with a sharp scissors.
4th, install the spotless and dry valve by shining an AAA pen-light through the back side of the valve hole in the rim and use an ice-pick (leave the X-slits to idiots who flunked physics class) to slowly push through the tape at the middle of the hole. Use a leather awl or nail-set to widen it until it's slightly smaller than the valve. Push the valve through the hole gently, expanding the hole as you go before seating the rubber seal. Use thumb pressure on the back of the valve to press the seal against the rim tape, while snugging up the nut on the valve on the other side of the rim,
Use thumb-pressure to provide ALL of the pressure. Don't use the nut to apply pressure, as this subtlety twists the seal, which will break the pneumatic seal later when it twists itself back due to road vibration. The rubber seal should squat just slightly, and be pressed against the plastic material of the rim tape, not against the metal of the rim. This creates a simpler seal for the sealant to work with vs rim, tape, and valve.
5th, check that the tire is going to be mounted in the right direction. Conti GP5000 tires are directional. You do NOT want to mount a tire twice because you got this wrong. Trust me (I would never do a thing like that, gulp). BTW, since you can always reverse the skewer on the symmetrical, caliper brake front wheel, there's no directional requirement for the front wheel. Yes, there is the esthetic of having the hub label the wrong way around, but 0.00001% of the World knows there is such a thing, so don't risk screwing up a perfectly good seal by starting over, just flip the skewer (if you have disk brakes, you're SOL).
6th, put on the 1st bead starting at the valve and working your way to the opposite side. If it's hard getting the bead over the rim, herd the bead into the center cavity all the way around. Putting the first bead on valve-first assures you get the bead down past the valve, and into the bead-socket, where the valve will tend to hold it until you get the first bead over the rim.
7th, starting on the opposite side from the valve, work the bead around until it's up against the valve, making sure to herd the 1st & 2nd bead as deeply into the center cavity as possible. You can press the wheel against a rubber-backed rug or carpeted floor to help hold the beads down into the center cavity - whatever works best for you. Again, use the fat-pads at the base of your fingers to push the bead over the rim. This time up against the valve.
If the beads are going rouge on you, you can use 1 or 2 Zip-Ties as a 2nd set of hands. Just be sure to place them so the spokes will keep them from sliding along the wheel. This is 100% effective at preventing bead-slide. I used this technique when putting a Conti GP5000TL on an old DT Swiss RR-465 rim (which leaked like a sieve, so not a viable system) and it worked marvelously.

8th, assuming you have the tires mounted, the valve in place, and the tires are going in the right direction, it's time for some sealant. Conti GP5000TLs will NOT, NOT, NOT hold onto the bead-socket when tire pressure falls below 10-15psi, SO, you need to put the sealant in BEFORE airing them up. I would RX putting in the sealant before inflating the tire even if you can get the bead to stay seated. The sealant loss is almost zero, and it makes for a much simpler procedure to only inflate the tire once.
I know, I know, it sounds scary, but the Stan's sealant stays put inside the tire very nicely provided you spread it around by spinning the tire while moving side to side. I find hanging onto the hub skewer while seated with my right hand works best. You want to spread it as evenly as possible.Take your time and get a good spread (2-3 minutes). Sealant makes better lube than soapy water to assist getting the bead seated properly, and guess what, sealant seals the bead. Soapy water doesn't.
To get the sealant inside the tire, put the wheel on a hard surface like a garage floor (something that you're OK getting some sealant on) and use your forearm to press air out of the tire, so that when you put the 2oz bottle of Stan's (save the little bottles for this task) up against the valve, with the core removed, and release the pressure of your forearm on the wheel, the vacuum that is formed sucks the sealant right into the tire. I do this with the valve at the 7-O'clock position.
9th, air up the tire. I bought a little Briggs + Stratton 3ga air-compressor ($60) for this task, but you will need to throw out all the included couplers and replace them with Milton High Volume (Home Depot's Husky HV connectors work fine) connections. (details here). You'll also need a Schrader air chuck and Schrader to Presta adapter for your valve until you get your tire aired up, at which point you can remove the adapter, screw the valve closed, and put the cap on.
 |
| 6' Tekton 3/8" ID lead-in hose with 1/4" male connectors |
Assuming you have 125PSI and HV coupler and hoses, a 3ga tank is enough, in fact, it's perfect, as the pressure drops just enough when seating the bead that you don't have to worry about over-pressure. Position the wheel so the valve is at the highest point when inflating. You don't want to blow air or CO2 into a big puddle of sealant pooled at the bottom of the tire.
Pressurize for the "POPs", and then again in 30 seconds for a full seal. If done right, you will lose almost NO sealant at all. I use the full 2oz bottle of Stan's, which IIRC, is 60ml. Especially for the 28mm, that's needed to get full coverage inside the tire, rim (tape) and valve and have some left over for punctures.
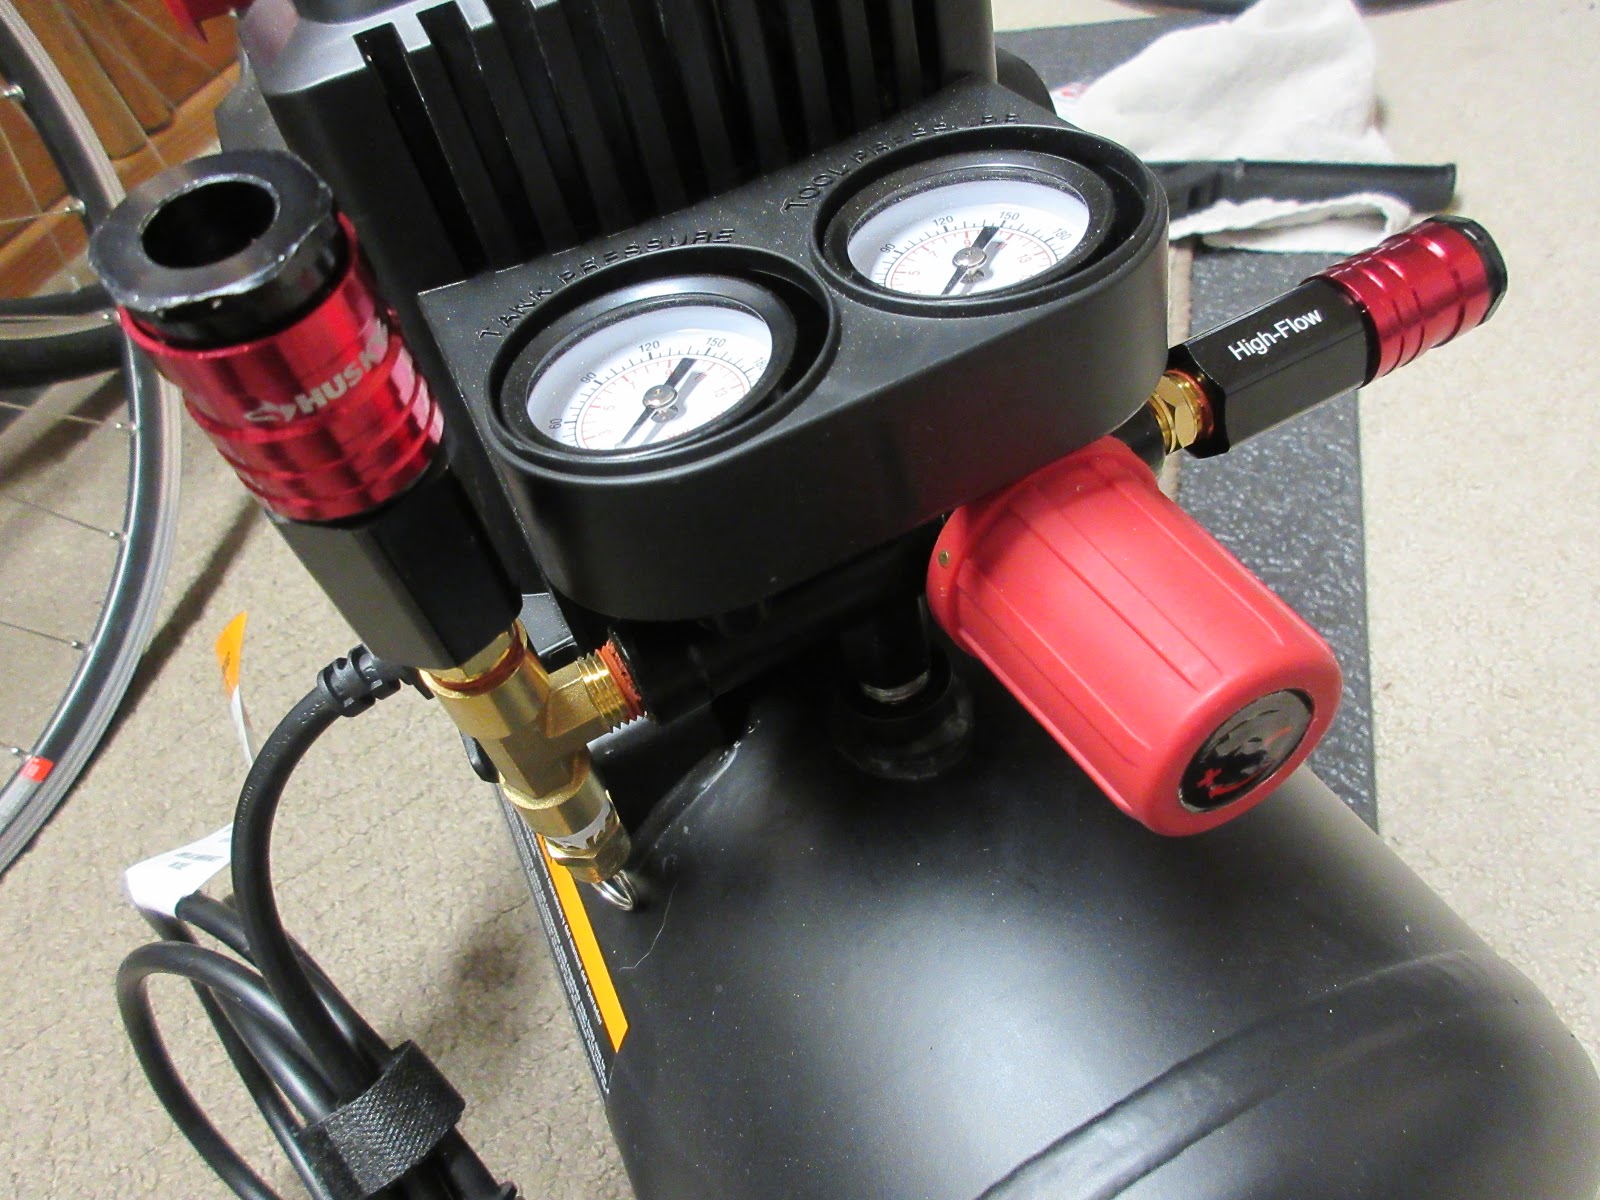 |
| Briggs & Stratton compressor with Milton HV couplers and fittings |
CO2 carts will also work (RX a 20g cart) but their very high pressure will blow the sealant away from the tire across from the valve, so take care to spin the tire again and re-cover that area with sealant.
10th, and last, from a seated position spin the tire SLOWLY on its side at a shallow incline (~20 degrees) so the sealant gets distributed all over the bead and bead-socket seal. After 5-10 minutes of this put the wheel on the bike, turned upside-down, and spin the wheel hard stood upright. Air up the tire/s to full pressure before retiring for the night, and check the pressure in the morning. You should have a full seal, but if not, repeat the sealant spreading process.
 |
| Black plastic spacer from Giant hugs the rim perfectly |
Closing Remarks:
I should mention that I used to use soapy water on the rim, wheel, tire, etc, and I own a Kool-Stop tire jack (great device, but you shouldn't need it) and a dozen pairs of tire-irons, but none of that is necessary if you work on your technique. I assume soap and sealant hate each other with a passion, so avoid any risk of them mixing. For bike mechanics, being able to build good wheels is what separates the men from the boys. For us amateurs, being able to put tires on dry with bare hands is the litmus test. Be patient and observant, and don't force things. Wheels and tires are expensive and you don't want to ruin either.
I have to say, at this point, for me, mounting tubeless tires is easier than mounting tubes and tires, especially since I don't have to worry about pinching a tube during installation and ruining it or having it stuck between the bead and the bead-socket, blowing the tire off the rim and ruining the tube.
In general, tubeless systems are more work because of all the cleaning (Get a pressure washer or find a high-pressure car wash to remove old sealant from tires. Works like magic!), and a bit more complex overall, but you save a lot of weight and bother on the road not having to carry tubes, tire-irons, patch kits, etc. The weight of the tire system itself is the same, but it's inside your tires, not strapped to your bike, and the smaller lighter saddle bag is a HUGE win. For that, with the Conti GP5kTL, you have a nearly flat-proof system that rolls and feels like a dream. Yeah, they weigh 50gm more than the Schwalbe, but who cares? You can actually ride where you want, anytime you want, and know you're going to get home before dark (or 110 degree heat) reliably.
PS:
After not riding for ~ 4 weeks, the front tire, having a slow leak, leaked down to what turned out to be less than 5 psi, but did NOT let go of the bead. The tire is 8 months old now, and has ~ 1,000 miles on it, but contrary to what I've reported here and elsewhere, the tire did hold the bead at sub-10 psi. YMMV. I've also done an update of sorts of this post regarding cleaning and mounting a very tight 25mm Conti GP5kTL here.
PPS:
I was able to successfully add sealant to the front 25mm tire without removing and cleaning the tire, rim, wheel - quite to my surprise. Details here. It seems the more experience I gain with these tires the better work-arounds I find. Hope this helps!
.
2 comments:
Love your blog! Just mounted my first set of road tubeless (GP5000). My Shimano RS500 wheels have unique valves without removable cores !*&?!!. So I just dumped about 50ml of Stans in the last bit of open exposed tire before muscling the last part of the tire on the rim. I DID use a plastic tire iron - no worries about pinching a tube! Also used a compressor. I can't believe how awesome these tires are. So glad I read this blog, which convinced me to not discount tubeless for roadbikes. I didn't get the part about the zip ties until I mounted the tire, which I accomplished by acrobatically pinning the wheel between my knee and a stury wood stool, then awkwardly reaching over as the tire slowly kept slipping off the bead... NOW I UNDERSTAND! Will use the Zip tie method from now on! (I thought it was to force the tire to the center of the rim to eek out a tad more space to mount the tire... DOH!
Well done Matt. The Zip Tie cheat is so brilliant I can't believe it took me so long to think of. I'm happy I was able to help in some small measure. The GP5KTL tires have been a God-Send for me here in the desert where there are so many needles, goat-heads, and pools of broken beer and whiskey bottles.
I still ride in the right wheel track most of the time, but if I have to ride on the edge of the road I feel confident I can roll over pretty much anything without having a blow-out and ending up under a vehicle. We have a LOT of trucks because of all the warehousing, so that's a huge relief.
These tires have had a profound impact on my riding - my 25-30 miles rides are now 45-75 mile rides. I hope you have a similar experience, riding when and wherever you want to with no worries about getting home on schedule.
Post a Comment